Hello to y’all out there!
Today I printed my first pieces*!

* I printed a lot of calibration pieces while working on it, but the don’t count as real pieces, I guess..
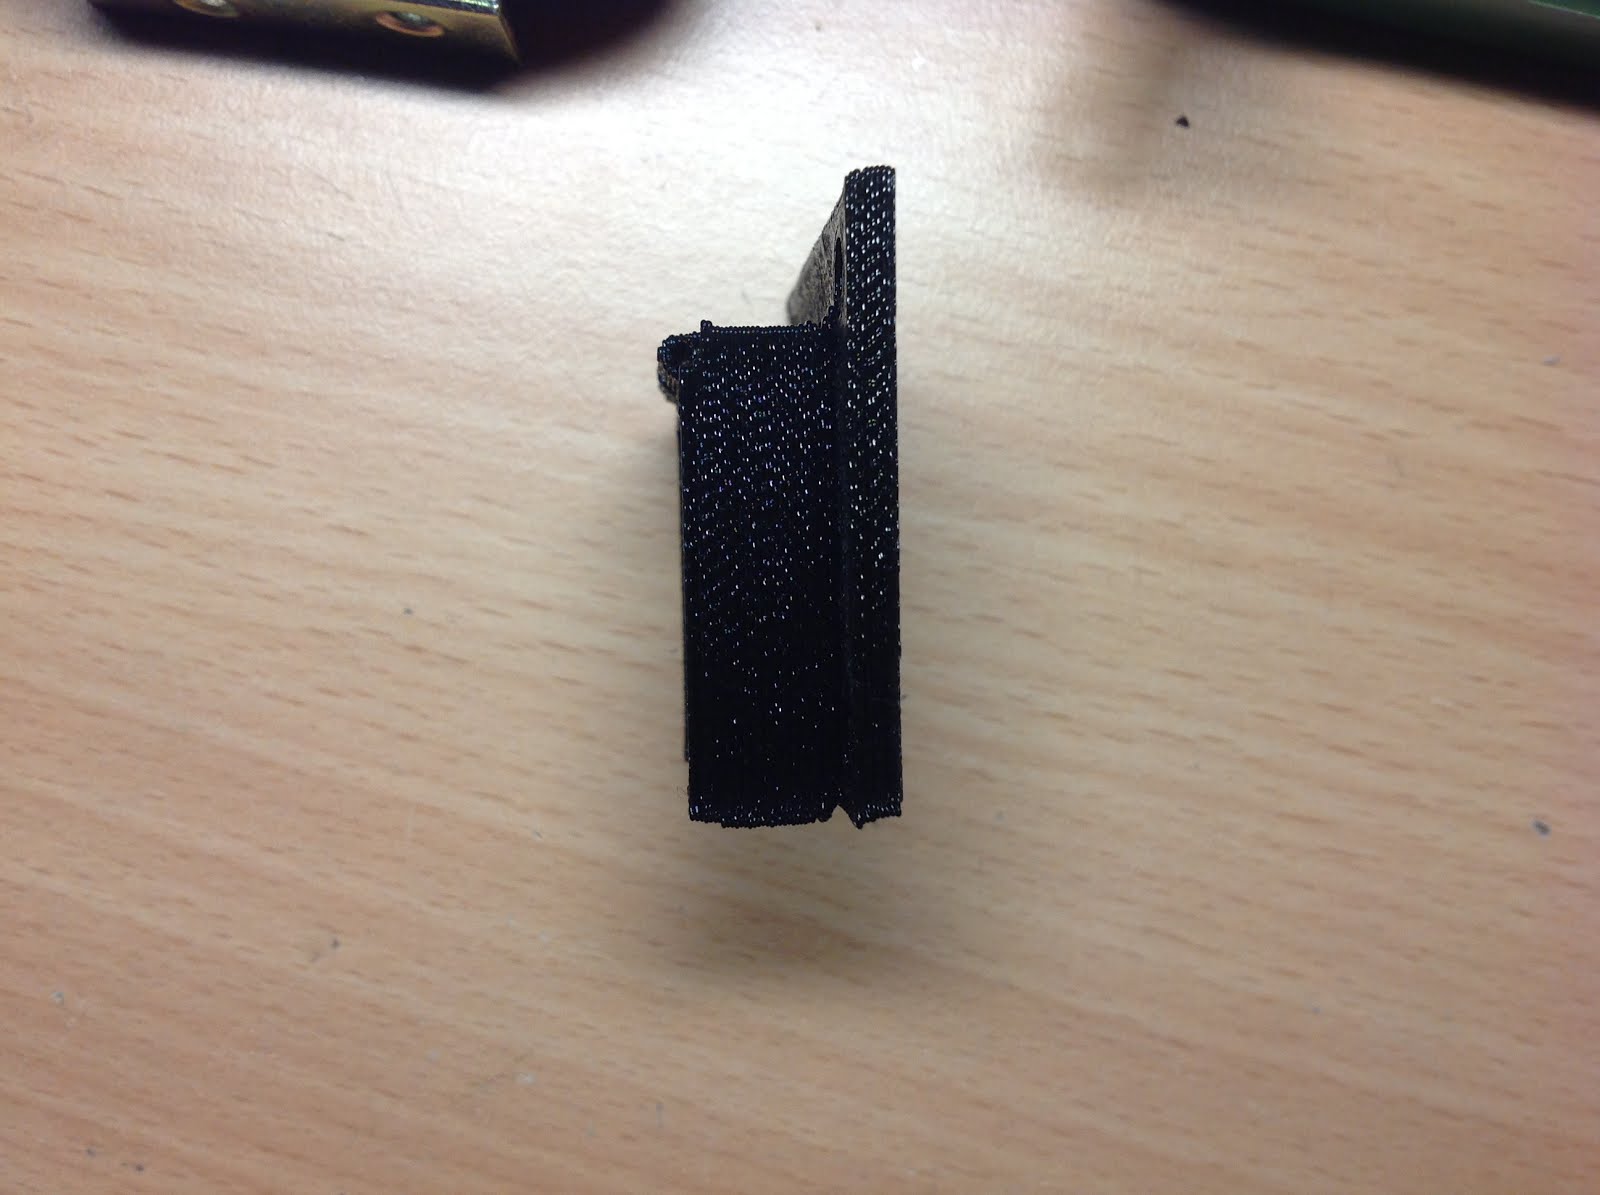
The first two are pieces of a safety cap for my power bar which powers my printer. Until now the main switch was uncovered and could easily be pressed by accident, shutting down the whole printer and ruining the print.
They came out, I would say, well, considering the fact that this is a printer made out of scrap wood and build while I had no idea how to do it right :) (This whole project is more of a learning by doing kind’a thing)
They might be looking awful on the pictures, but in real, they look well. And this isn't the finished state, I'm still working on it.
Some different angles of the power safety cap:

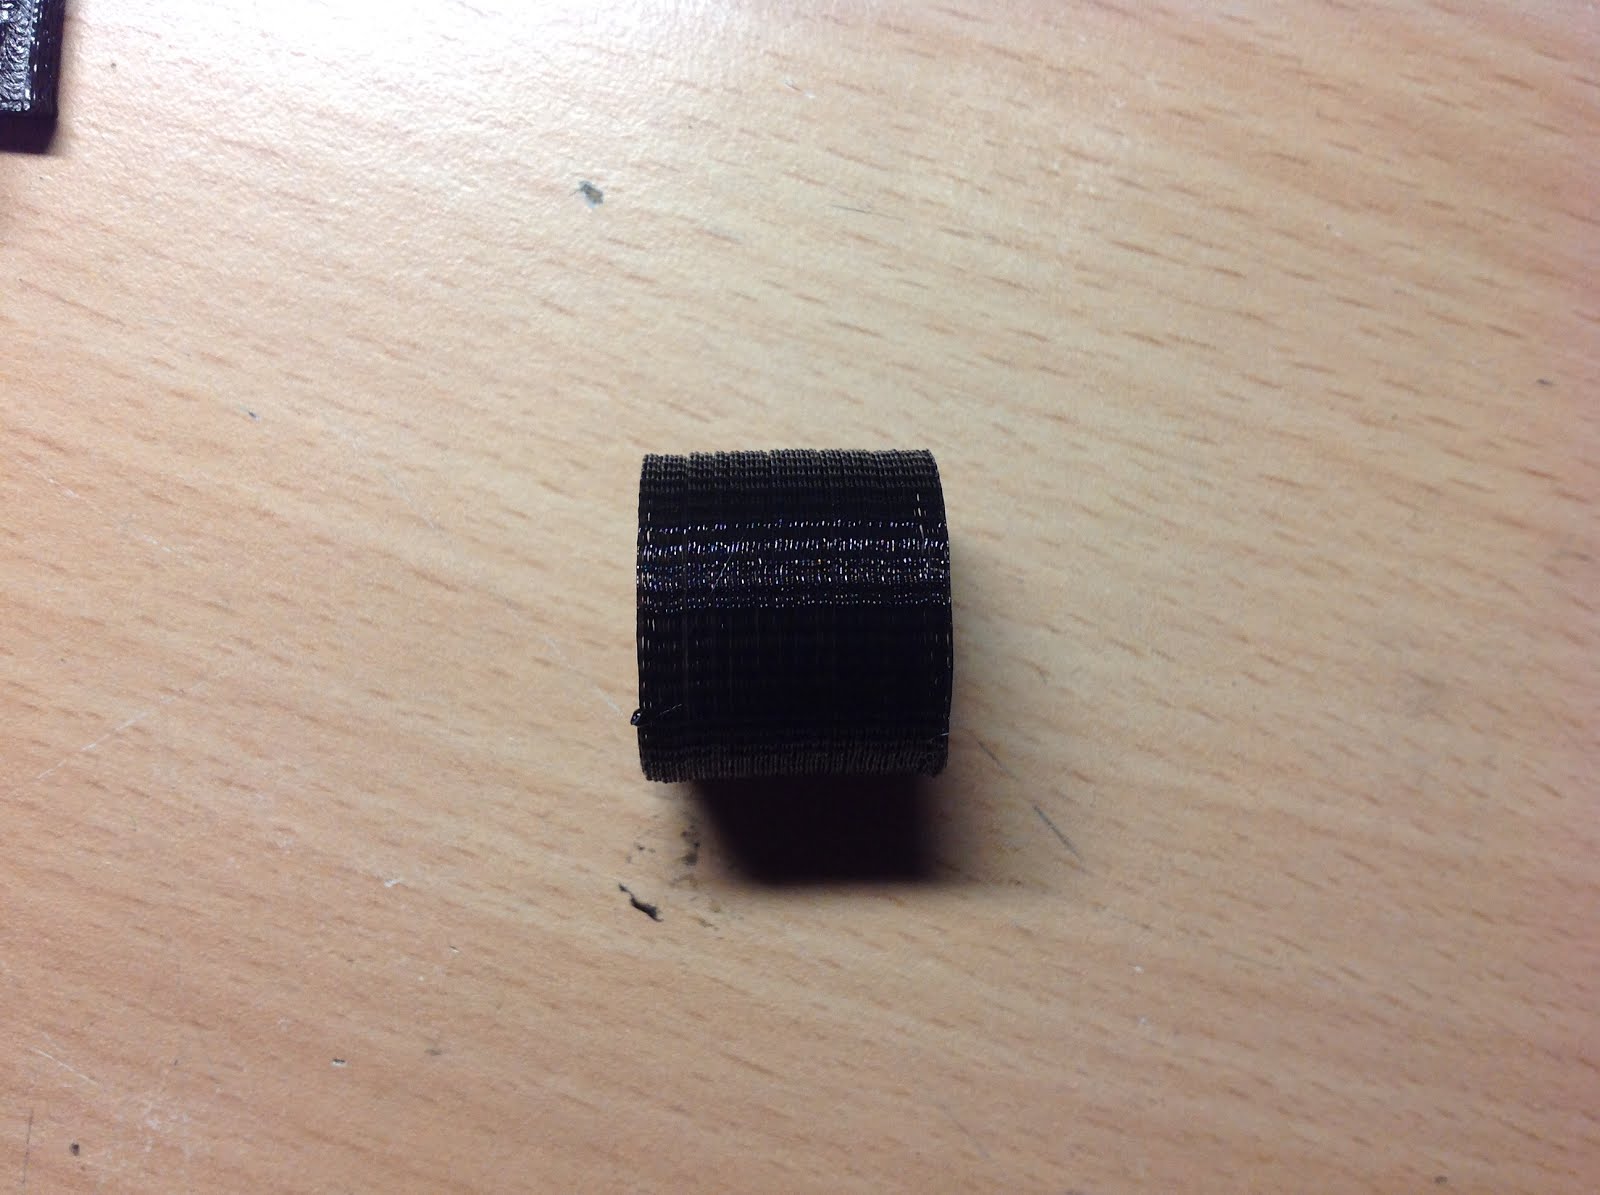
After printing the safety cap, I printed a cylinder with no top and bottom layers, no infill and only one shell. I really have to confess, that I thought this wouldn't come out as good as it is now. There you can see, that my printer is quite accurate. Each layer is on top of another, nearly no shift.

That's it for now. I will make a video about my printer, but only in a few weeks time.
JHL
